What is a Shopify form page?
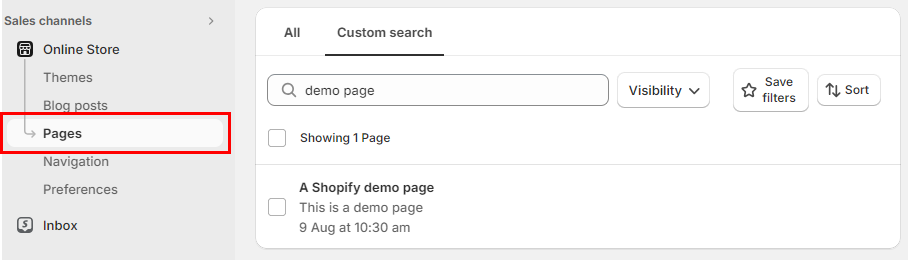
A Shopify form page is simply any form that's been built on the Shopify 'Pages' section of the Shopify platform that can be found here (this includes form built by 3rd party apps):
Need to know more about Shopify store pages? Click HERE to ready Shopifys guide on 'pages'
Add a Shopify or App Form Page to your customer account:
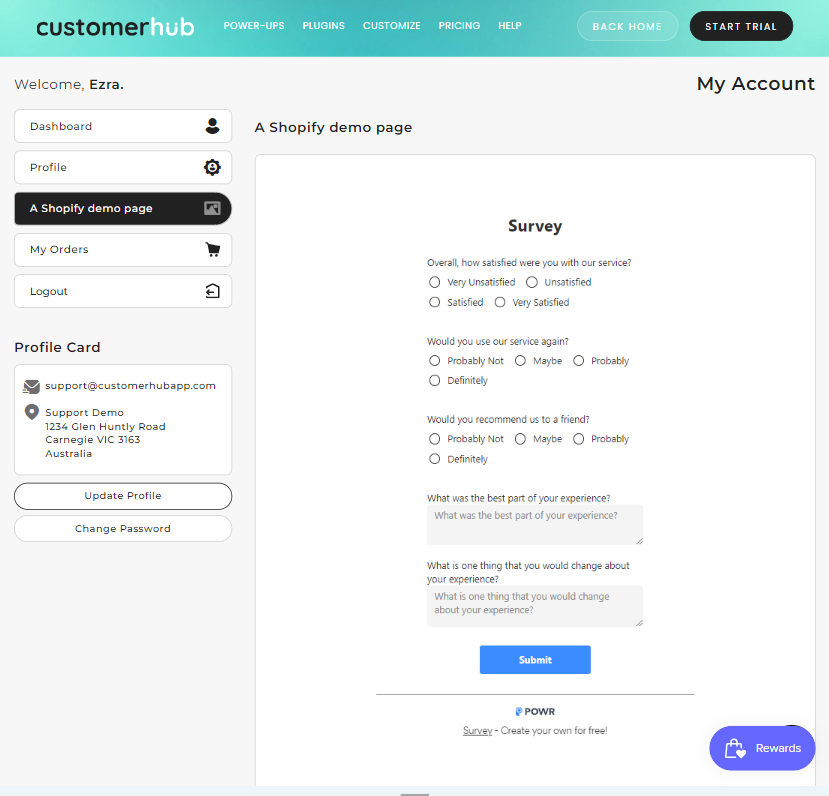
What does the page look like on the customer account once added?
Below you can see the new store page in the customer account menu as well as the content of the page loaded inside of the customer account page