

How to setup the Customer Fields Integration

IMPORTANT NOTICEThis guide is not compatible with the new Customer Accounts Hub 'Flow' layout and is only available on the 'Classic' layout. To view the update Flow version, please click HERE
Don't have the Customer Fields app installed - Click HERE to install
What can you do with this Integration?
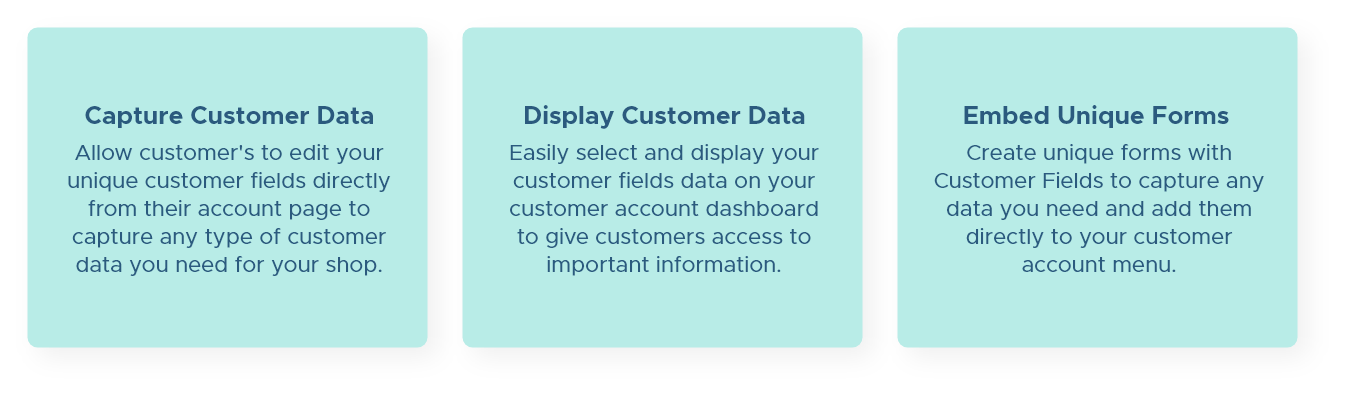
So how does it work?
First create an 'Edit Account' page for your customers that replaces the Customer Hub out of the box profile page. Not sure how? You can find out how to create an 'Edit Account' page HERE
Once created and installed through the Customer Fields app, your profile section will automatically be replaced.
Below is an example of how we've done some small changes to our own profile page using the Customer Fields app:
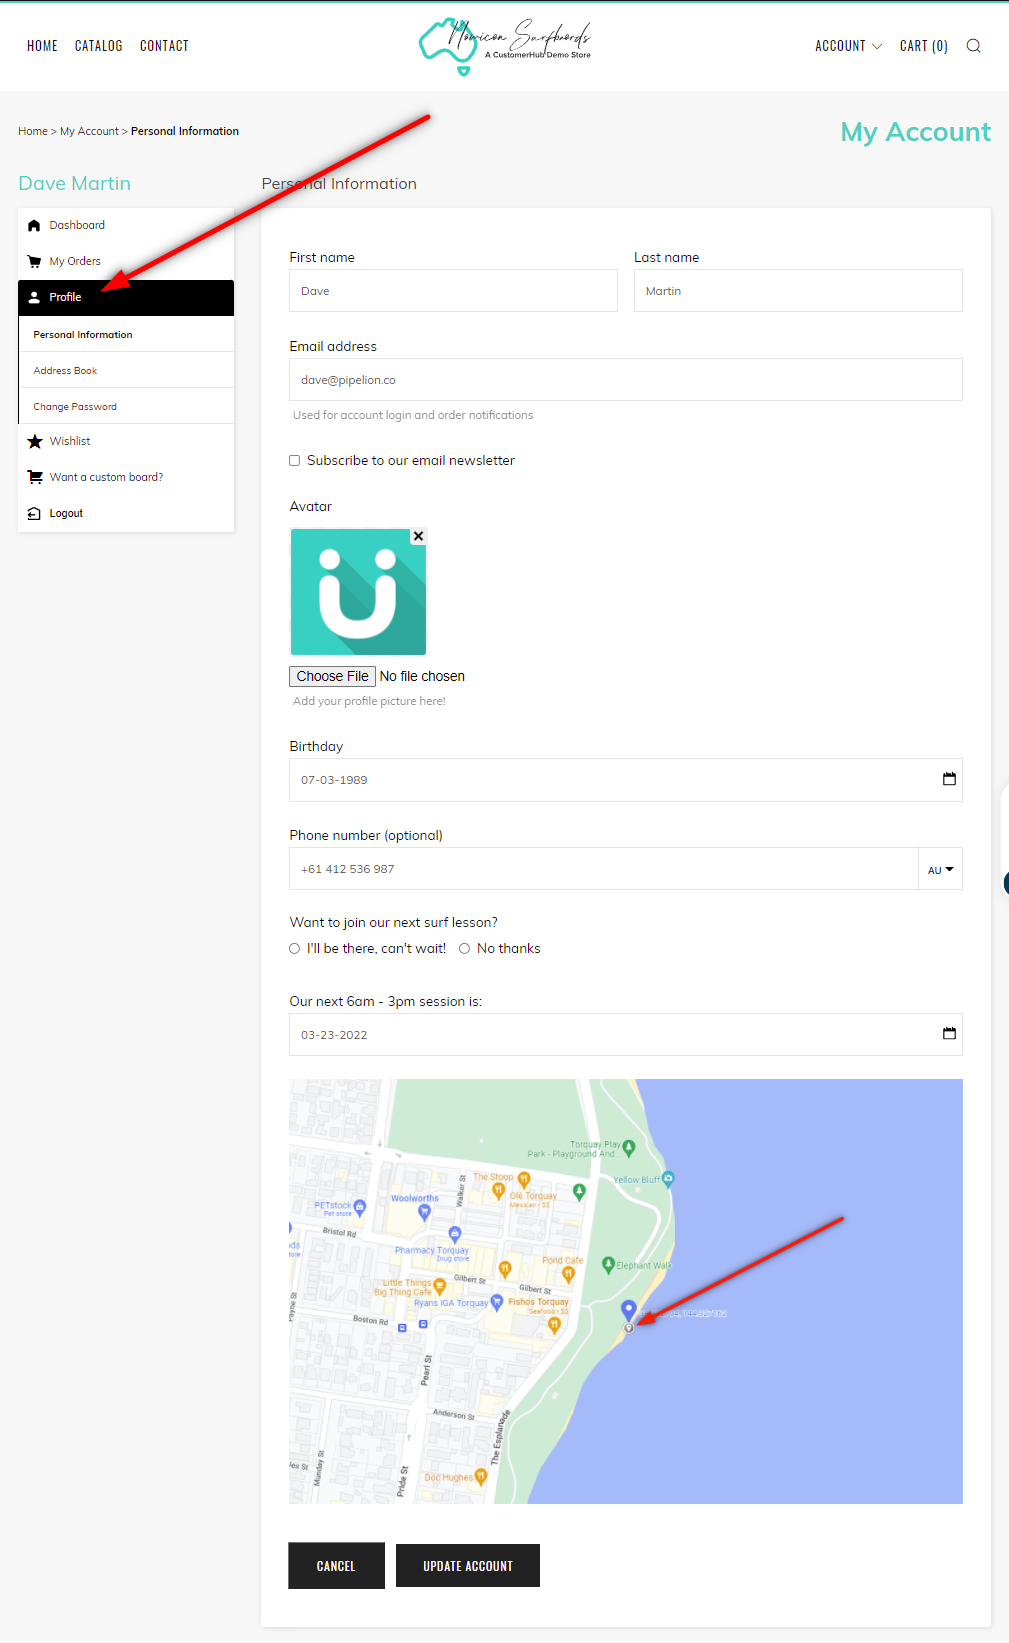
Once setup, you're now able to take the customer data and display it directly on their account dashboard. Want to display the customers avatar image, surf lesson preference and the next session time like we've done in the below image?

You can do this by simply opening the CustomerHub app
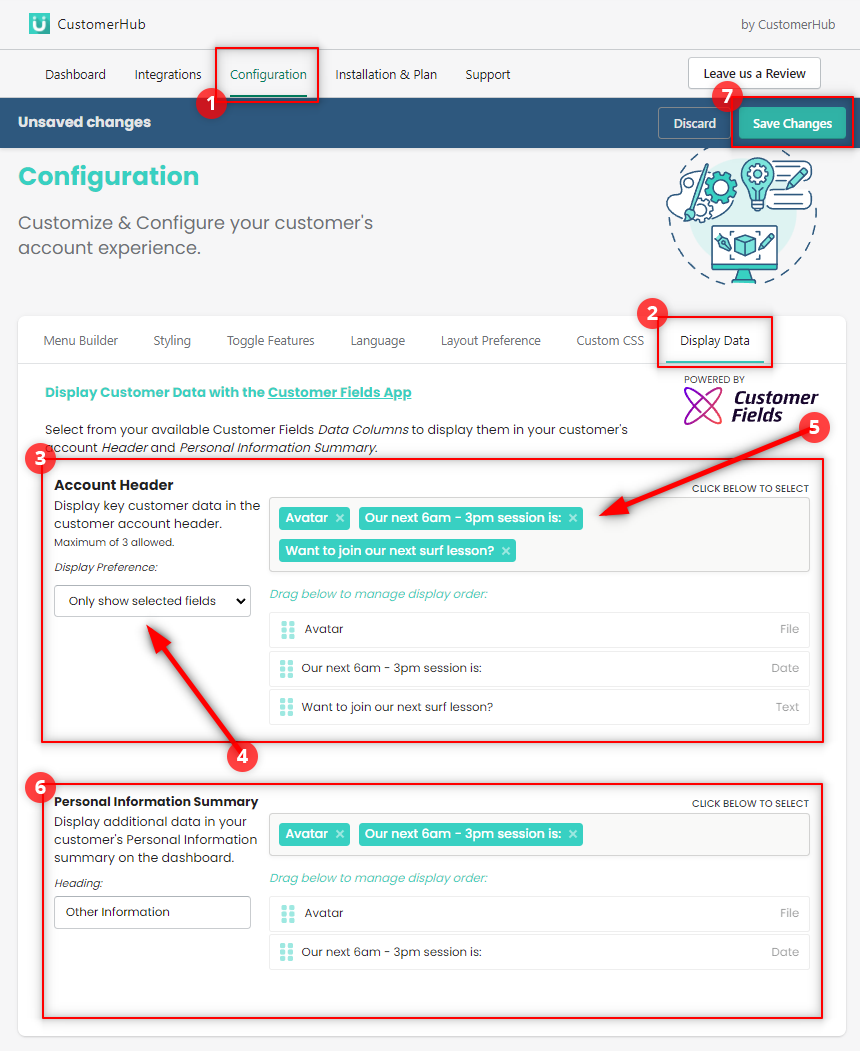
1. Click on 'Configuration'
2. Select 'Display Data'
3. This section allows you to add and manage the display order of the Customer Fields Data Columns
4. Choose your 'Display Preference' (to display customer email address or no longer display customer email address) on the account dashboard
5. The account header section allows you to display 3 key customer data fields as shown in the image above. Simply select the data types you want displayed and feel free to re-arrange them.
6. This section allows you to do the same with the ability to add unlimited data to your customers 'Personal Information' section at the bottom of the account page
7. Once done, simply click the 'Save Changes' Button and you'll be able to refresh the customer account page and see the changes! (NOTE: It may take a minute for the changes to refresh)
Want to add a custom form to your customer account page?
Follow the Customer Fields help article HERE to create the form as a Shopify page
To embed the form in your customer account page follow our guide HERE
Download the CustomerHub app now and turn your customer account page into your Customer Engagement Platform
The team behind the Customer Fields app has also make their own handy guide which can be found HERE